From 2D to 3D in warehouse design: a custom workflow
Warehouse or logistic designers want to optimize planning operations to effectively deliver efficient, well-designed spaces, without concern for rework or waste. Manufacturers and suppliers also want to showcase their storage or racking systems in-situ and help logistics operators visualize their proposals for planning and organization purposes. Whatever camp you belong to, SketchUp can help you meet those needs. The 3D modeling process outlined in this article breaks down the basics and can be customized to suit your unique warehouse design needs. Let’s jump in!
1. Start with what you have
You’ll either be designing a whole new space or working within an existing space. Either way, you’ll likely have a floorplan, a reference sketch, or an image. Start by importing that into SketchUp and scaling it up or down to reflect real-world measurements.
How to import reference images in SketchUp
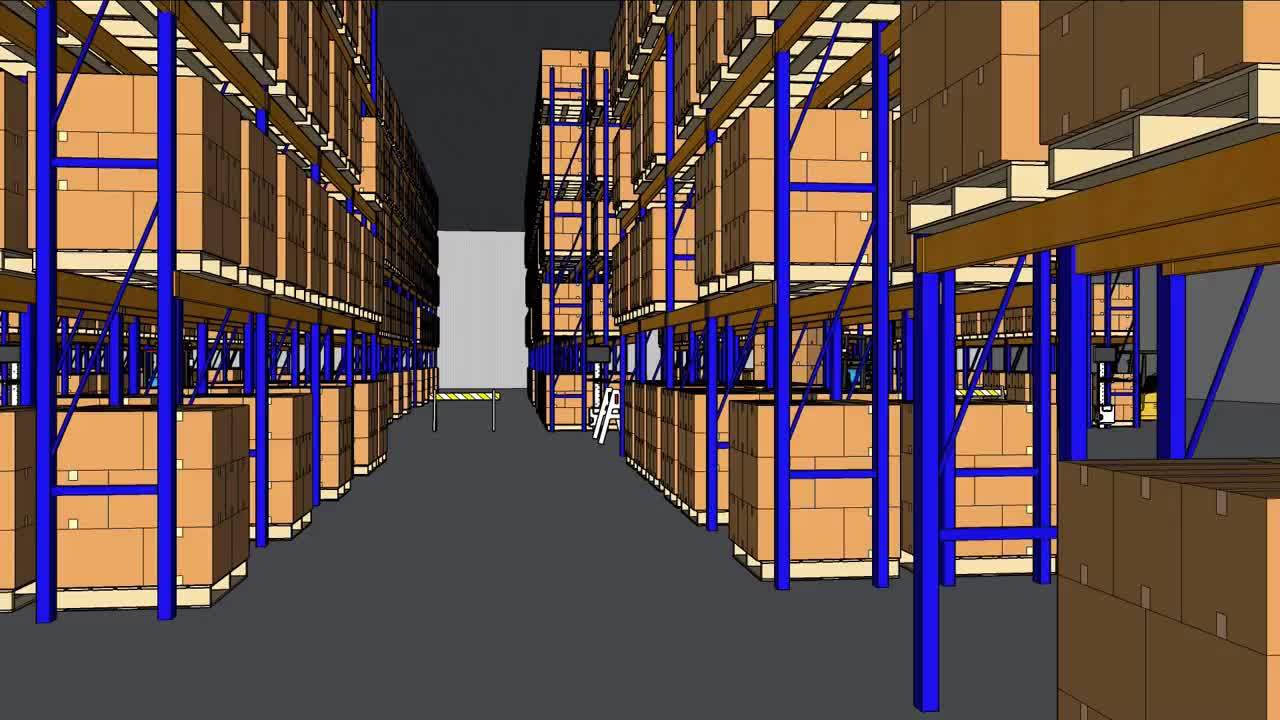
2. Bring your space to life in 3D
Transitioning from 2D to 3D will help you and your project stakeholders to experience your space, and better understand its scale, i.e., how big or small it really is. Use the pencil or shape tools to trace out your 2D floor plan, and pull up walls, columns, and other building elements to create your building.
Don’t have any plans? The SketchUp extension, Warehouse Blueprint, provides users with dynamic components such as a warehouse shell, selective racking, and a straight conveyor. Whether you create your objects from scratch or import them from 3D Warehouse, it’s always a good idea to create the elements in your model as 3D objects, i.e., Groups and Components.
→ Completely new to SketchUp? This SketchUp Campus fundamentals track will bring you up to speed on these concepts in no time.
→ SketchUp Extensions make modeling quicker and more efficient. Here’s a shortlist of ten essential extensions to boost your productivity.
3. Make it once, reuse and recycle to infinity
There’s no need to build every single element from scratch. A super tip is to source pre-built models from the 3D Warehouse, which you can access right within SketchUp. You can tweak these to suit your space.
For bespoke items that are unique to your logistics operations, such as pallets, shelves, and rack systems, you can create a Component and duplicate it to create your desired stack configuration or storage layout. Use Arrays to replicate a well-configured stack at the right spacing.
You can easily create and adjust design options using dynamic components. These allow you to set up dimensions based on parametric rules where a single dimension change triggers an automatic update to all other dimensions. Changes will be automatically reflected across every instance of that specific dynamic component.
To illustrate employee and machinery flow, storage, and functionality, items such as forklifts, lift trucks, pallet trucks, stackers, and more can be downloaded from 3D Warehouse, and branded and customized to suit your needs.
4. Consider and incorporate regulatory and ergonomic standards
Use stipulated regulatory standards to guide measurements while planning your layout. By doing this you’ll not only be setting yourself up for code approval but you’ll also be maximizing usable space, and ensuring a safe, hazard-free workspace for future staff.
5. Showcase your design option(s) using Scenes
You’ve created a highly functional model, with lots of well thought out details. With Scenes, you can showcase your plans, perspective views, multiple layout options, and much more. Take your client on a virtual journey through the warehouse by arranging your scenes sequentially.
→ Learn how to turn scenes to animations and flythroughs to walk your team or client through your proposal.
6. Presenting your proposal
Once the details are dialed in, add the wow factor by rendering key scenes using simple (or photoreal) renderers in SketchUp. For bids, requests for proposals, approvals, and landmark presentations, producing photorealistic renders elevates your design and brings elements such as materiality and lighting to life. Realtime renderers such as Lumion LiveSync for SketchUp can also help you render edits during working sessions, and move conversations forward quicker.
Use SketchUp’s LayOut to easily combine drawings, details, specification reports in a robust, well-annotated document for internal and external communications. SketchUp Viewer for Desktop and SketchUp Mobile Viewer enable you to easily share and exchange files. Others can view the models you share with them, whether they have access to SketchUp or not. Trimble Connect equips you to share individual files with anyone using a generated link. However, external parties can only view and download shared files.
This workflow is in no way exhaustive - the possibilities are endless! Nevertheless, we hope this has sparked some ideas on how 3D modeling in SketchUp can help you better understand spatial requirements, propose efficient solutions, collaborate with stakeholders, and help your clients visualize proposals easily.
Let us know in the comments if we’ve missed anything that is important to your workflow.
Interested in learning more about how SketchUp can support your warehouse, logistics, and material handling modeling needs? Check out this shareable guide.