Interoperability unpacked: Three tips for an efficient SketchUp and Revit workflow
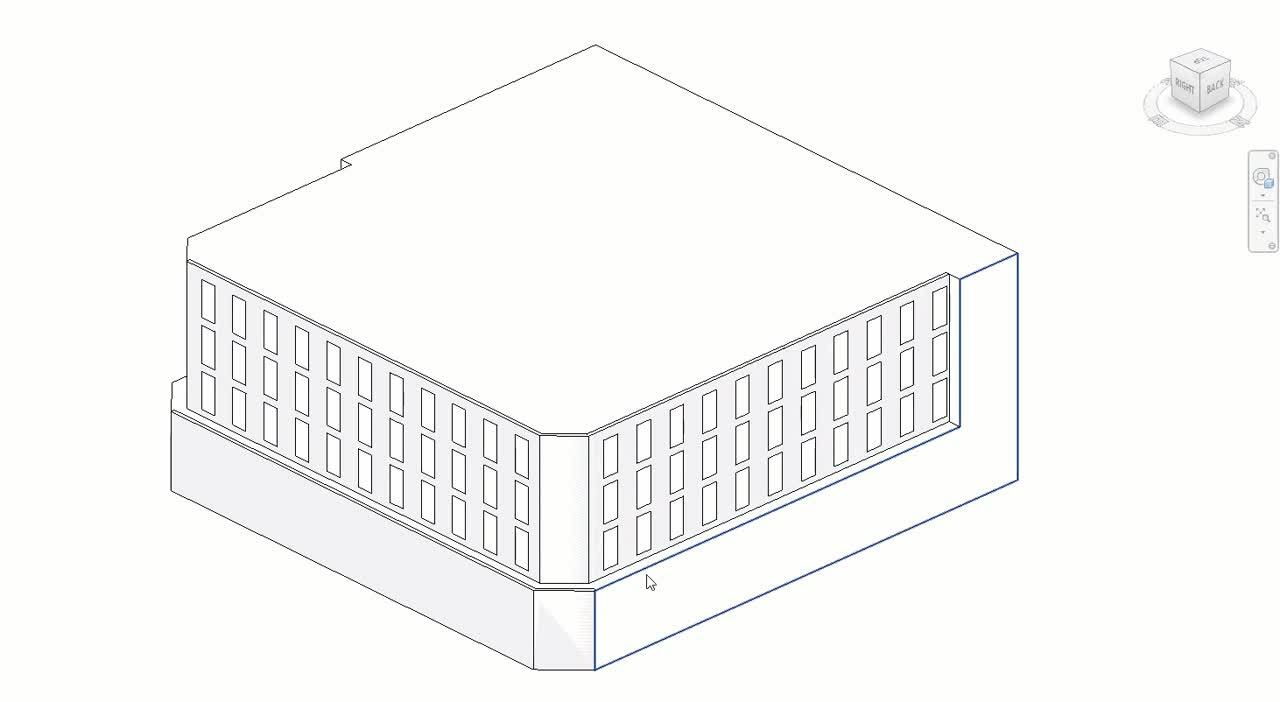
Image one: the original SketchUp model. Image two: the SketchUp model linked in a Revit project
Beyond the creative freedom, rigor, and extensibility SketchUp offers (don’t take our word for it, take M Moser’s), its ability to connect with and be used alongside other software tools is one of its most loved benefits. Designers often use SketchUp in conjunction with other applications on big and small projects. This article zooms in on the benefit of SketchUp’s interoperability on an essential workflow — SketchUp to Revit. SketchUp models can transition to or from Revit projects in various ways, but each project's best method depends on your deliverables and goals. Here’s how to move from SketchUp to Revit and back again.
Getting started: workflow recommendations
To start your workflow off right, have a set of best practices in place. We recommend that you:
- Approach the process like a perfectionist: Use groups, components, and tags appropriately — raw geometry is not your friend here.
- Get your software versions straight: Revit's importer may not be up to date with the latest SketchUp version. You may need to save your SketchUp model down at least one year before your Revit version.
- Understand your deliverables: Set concrete goals before choosing your workflow.
- Choose one of these primary approaches and treat it like a commandment:
1. SketchUp as an "In-Place" Component
2. SketchUp as a "Link" in a Revit Project
Three primary approaches to moving assets between SketchUp and Revit
We've broken down the three primary approaches you can use to bring SketchUp assets into Revit. These approaches use some of the native features available in both programs.
1. SketchUp as an "In-Place" Component
By importing your SketchUp model into Revit as an "in-place" component, you can leverage concept and schematic designs as a springboard for further design development. Complex, custom geometry can be challenging to model natively in Revit. Another use case of this import type is to model complex forms in SketchUp and import them into Revit. Lastly, you can populate Revit models with over one million real-world manufacturer models from 3D Warehouse. Remember that Revit family categories can be assigned and changed. You may want to break up your model exports into several "In-Place" components to better control the settings and visibility once in Revit.
Why use the "In-Place" Component approach?
- For concept and schematic design. Use the model as a reference in Revit to create native Revit walls, floors, and roofs.
- For creating unique or custom objects that are difficult to create natively in Revit.
- For leveraging 3D Warehouse's wide range of models that may not be available within Revit (e.g., furniture, casework, and light fixtures).
Draw with Revit's various object creation tools and snap to the points and line work provided by the SketchUp "In-Place" component.
2. SketchUp as a "Link" in a Revit Project
SketchUp is often used to create detailed site or context models in the early phases of the project. Instead of duplicating this work in Revit, import your SketchUp models as a “link” of site plans, renderings, and 3D views to show additional urban context, detailed adjacent structures, or infrastructure. With this workflow, the SketchUp model appears as is in the Revit model without remodeling these aspects.
Why use SketchUp as a "Link"?
- For visualizing SketchUp models as contextual elements within Revit.
- For deep collaboration between disciplines that do not have all the needed programs.
3. SketchUp as an IFC Export
This approach integrates model elements into the Revit project for coordination and collaboration. Learn more about using IFC files.
When you use the standardized IFC format, you can preserve the details of complex models going from either tool.
Why use SketchUp as an IFC Export?
- For sharing complex SketchUp or Revit models. This is the best way to preserve all the details in your model when you move them between modeling tools, with limited rework required.
- When you need a reference or consultant model for third-party collaboration and coordination. Model object display and visibility options are controlled at the Revit family level.
Elements should be actual 3D objects and be made watertight. For example, walls should not be single planes. Instead, draw them as "thick" walls with actual dimensions.
Ready to give it a try? Head over to this help article to dive deeper into the SketchUp to Revit workflow.
An IFC file is exported from Revit and imported to SketchUp.
Revit to SketchUp
Let’s shift into reverse so you can ace your design reviews and stakeholder presentations. Export Revit models to SketchUp for client feedback and easy model manipulation.
Revit to SketchUp Use Cases
Here are a few of the many reasons for viewing Revit geometry within SketchUp:
- Create compelling visuals for public-facing design presentations
- Develop shading and solar studies
- Perform material studies
- Model complex geometry that is much easier to model in SketchUp
- Add additional or intricate detail to a model
- Iterate quicker and test design options for aesthetic impact or building performance
- Perform quick collaboration with non-AEC stakeholders
- Create nimble models for fly-throughs and animations
- Create furniture and fixture layouts using 3D Warehouse
The Revit Importer
As of 2023, SketchUp Studio subscriptions include a native Revit Importer. The importer converts families and building elements to SketchUp’s native tags and components, optimizing geometry and creating a lightweight, well-organized SketchUp file that’s ready to use. Check out these six tips to maximize the importer and streamline your Revit-to-SketchUp workflow.
You can also learn what else is new in SketchUp for 2023 in the release post.
Revit to SketchUp: extensions to consider
There’s nothing better than a time-saving tool to speed up your workflow — enter third-party extensions. We recommend researching their potential to make your transition as seamless as possible. Try these Revit Add-ins:
- rvt2skp (C)
- SimLab SketchUp Exporter (C)
- BIMDeX (C)
- HelixBETA
*(C) indicates commercial, paid extensions.
Primary Approaches
There are multiple ways to bring your Revit model or element into your SketchUp model, including DWG, DXF, and IFC. Here are our favorite methods:
- Revit as a DWG Export Workflow: Revit families become SketchUp components and are tagged to the default CAD layer name.
- Revit as an IFC Export Workflow: Revit families become components in SketchUp and are assigned as Untagged and labeled appropriately in SketchUp's Outliner. The IFC classifications set in Revit will be preserved on the individual components for possible future re-export as IFC.
Once in SketchUp, either of these approaches gives you the ability to treat the elements like standard SketchUp entities and manipulate and visualize as you see fit. Here are the nitty-gritty details of the process.
If you aren’t a current SketchUp subscriber, try out the workflow using our free trial. If you are a current subscriber, check out SketchUp Campus for tutorials on anything from SketchUp fundamentals to developing CAD workflows.